Similar to how we upgraded our guest bathroom, I was dying to do our master bathroom as well! In fact, this bathroom upgrade was the original idea and I decided we should do the guest as well with leftover planks to make the design of the house more cohesive overall.
Before I show you our current bathroom, I’ll tell you where this idea came from. We actually did a beautiful DIY wooden surround in our previous home’s master bathroom and it was so spa-like and serene that I just knew I’d have my husband do it for this house as well when I saw the layout of the bathroom and bathtub walls was very similar. Here is a picture of that for reference! Oh how I do miss so many things about our old house (even though I love this one too.)

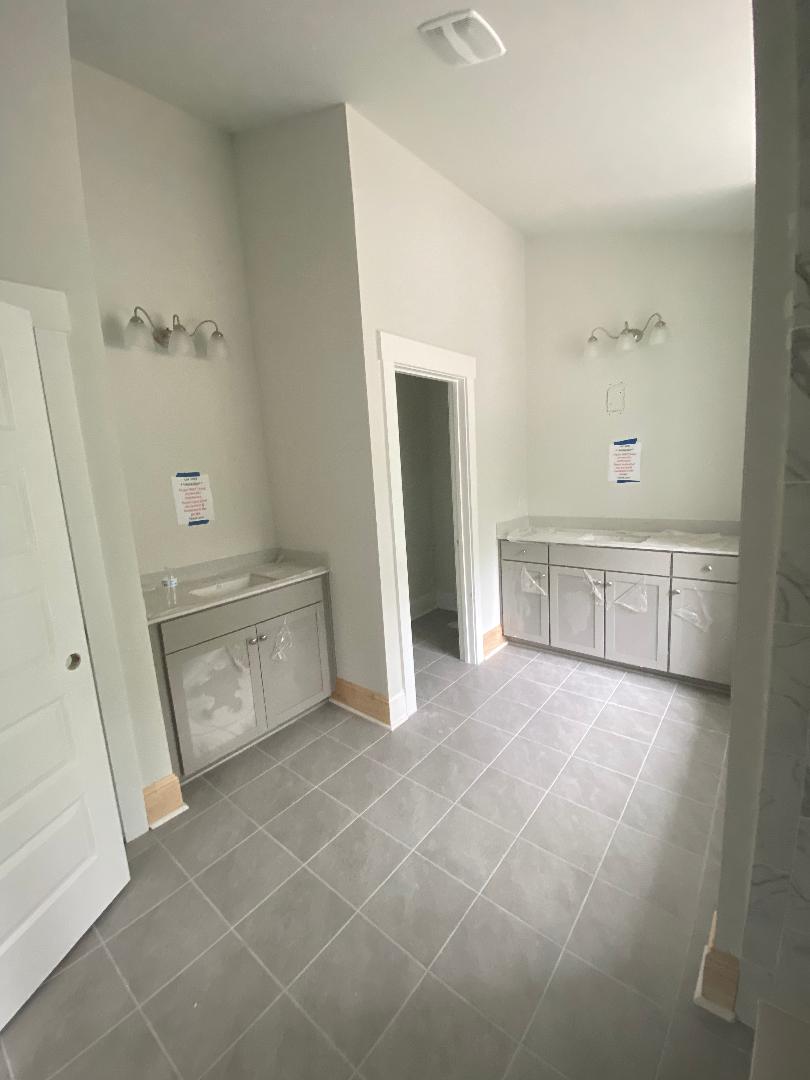
This is how our master bathroom looked just before we moved in.

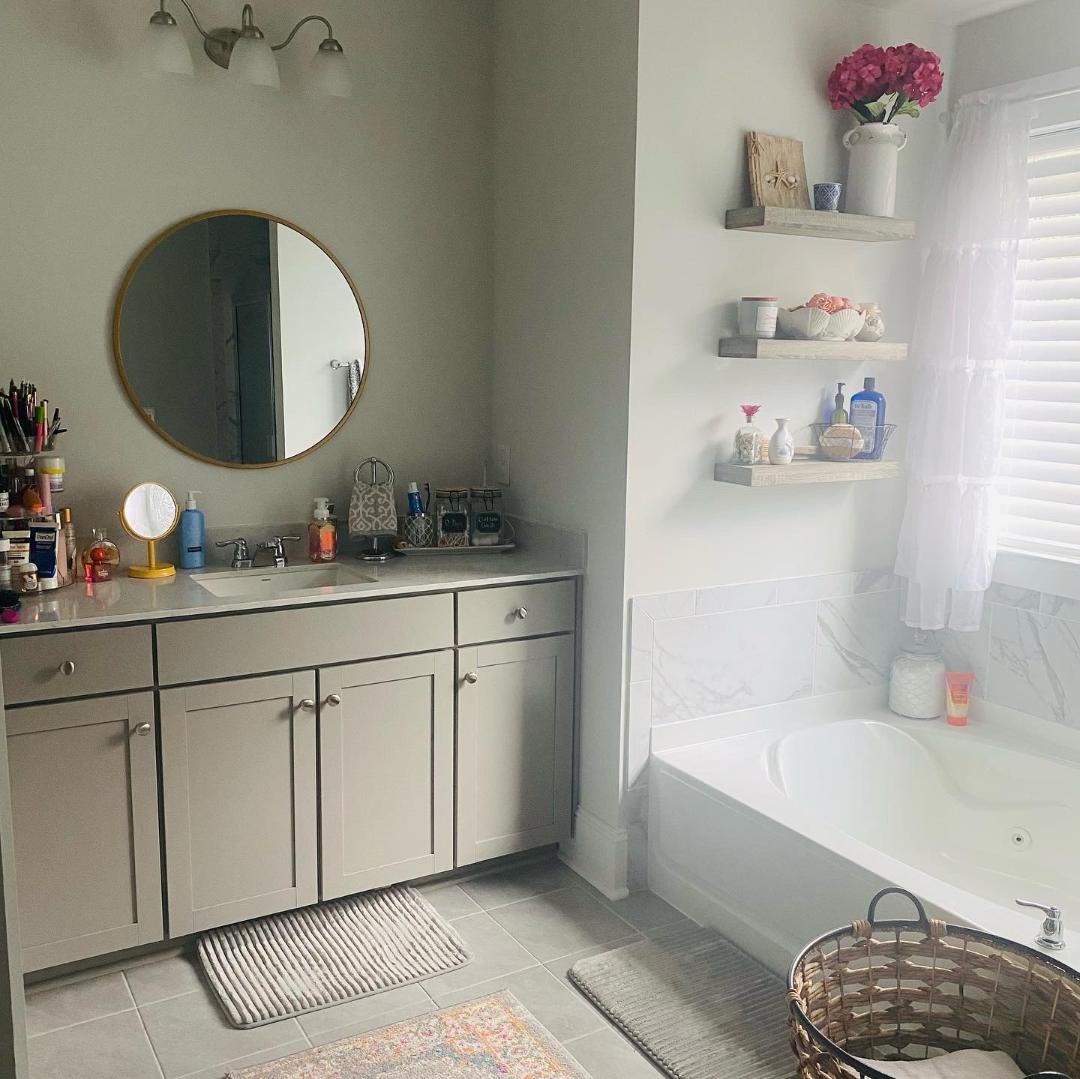
And then of course we added our own mirrors and some decor…

But I knew those ceiling lines would look so much better if we did something to make them pop – really draw the eye to them – adding some architectural interest. Here are the results!


We opted not to actually do the tub wall surround with it as we did in the last house because my husband thought it might have been “too much” accent. I don’t know if I wholeheartedly agree with that, but I am still very happy with the outcome of the space and what a big difference a little upgrade makes! They do at least have the floating shelves that match the color of the wooden planks which helps tie it all in together.


Would love to know what you think! Please drop a comment below!

